How to Photograph Hair Transplant Results Professionally
Key Takeaways
- Five standardised angles (frontal, both profiles, vertex, donor) are the minimum for comprehensive documentation
- Diffused, daylight-balanced lighting (5500K) ensures accurate colour reproduction across sessions months apart
- Fixed camera positions with floor markers create repeatable results any trained staff member can achieve
- RAW file format preserves maximum detail for clinical assessment and gallery presentation
- A specialist photographer can establish a permanent protocol your team maintains independently
Consistent, professional hair transplant results photography is both an art and a science. The technical demands of scalp photography — where hair density, graft direction, and skin texture are all affected by lighting angle and quality — exceed those of most clinical documentation. Yet the majority of UK hair transplant clinics still delegate this critical task to clinical staff with no formal training in photographic technique. The result: inconsistent galleries that undermine exceptional surgical work.
Let In Focus by Zain set up your documentation protocol
Learn about our setup serviceThe Equipment You Need
Professional hair transplant documentation requires: a DSLR or mirrorless camera body, a macro-capable lens (60-100mm focal length), a sturdy tripod with adjustable height, two softbox lights or a ring light for even illumination, a plain grey or white backdrop, and floor markers for patient positioning. The total equipment investment is approximately £2,000-£3,000 — a fraction of the revenue a professional gallery generates.
The Five Essential Angles
Every patient documentation session should capture these five standardised angles at minimum:
- Frontal view — Camera at eye level, patient facing directly forward. Documents hairline design, forehead symmetry, and frontal density.
- Left profile (90°) — Camera perpendicular to the left side. Documents temporal point, sideburn area, and lateral density.
- Right profile (90°) — Mirror of left profile for symmetry comparison.
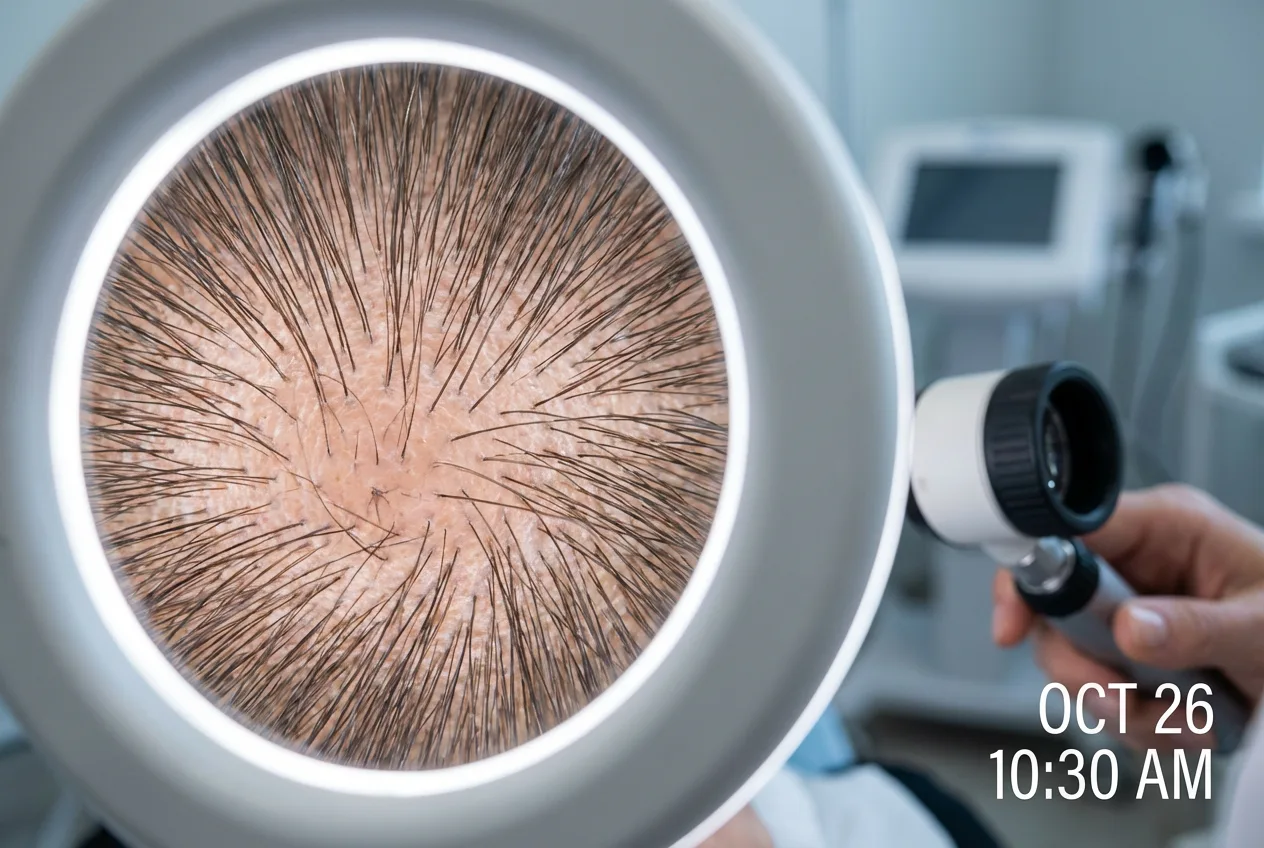
- Vertex (top-down) — Camera directly above, patient tilting head forward approximately 45°. Documents crown coverage and overall density distribution.
- Donor area (posterior) — Camera at head height, patient facing away. Documents donor area condition, scarring assessment, and available supply.
Lighting for Scalp Photography
Scalp photography is uniquely demanding because hair density perception changes dramatically with lighting angle. Direct overhead light makes hair appear thinner; side lighting can create shadows that exaggerate or hide density. The standard is diffused, even illumination from two softbox lights positioned at 45° angles, supplemented by a fill light or reflector to eliminate harsh shadows. Colour temperature must remain constant at 5500K daylight-balanced across all sessions to ensure accurate skin tone reproduction months apart.
Want a professional documentation setup?
In Focus by Zain installs and trains your team on standardised photography protocols.
Get a Free QuoteCreating a Repeatable Protocol
The goal is not to require a professional photographer for every patient. It is to establish a system that any trained staff member can operate consistently. In Focus by Zain achieves this through a setup-and-train approach: we install the lighting rig, configure camera settings, create floor markers for patient positioning, produce a laminated shot guide for each angle, and train your clinical team through supervised practice sessions. Quarterly audits ensure standards are maintained.
Frequently Asked Questions
Get Your Documentation Protocol Set Up
In Focus by Zain installs professional documentation systems for hair transplant clinics across the UK.
Book Free ConsultationRelated: Before/After Guide · Clinic Photography